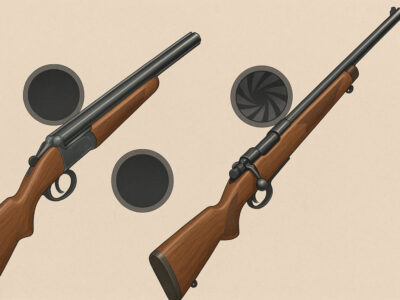
A rifle scope requires adjustment and sighting. This step is arguably the most important before using the equipment. Proper actions help increase accuracy, improve performance, and ensure a high level of safety.
In our new publication, we’ll go over the main steps of adjusting a rifle scope.
Why Sighting is Necessary and What It Provides
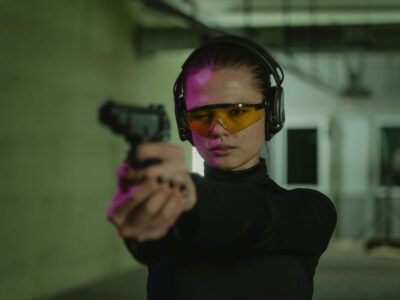
To achieve good shooting results, buying and mounting a rifle scope is not enough. A required step before using the weapon is to sight the scope. This can be done independently or, for example, in a gunsmith’s workshop.
Test shots determine the accuracy of the weapon with optics, allowing for corresponding adjustments. Overall, the procedure is simple enough for even novice shooters to master. The key is to follow a step-by-step process.
Preparation for Sighting
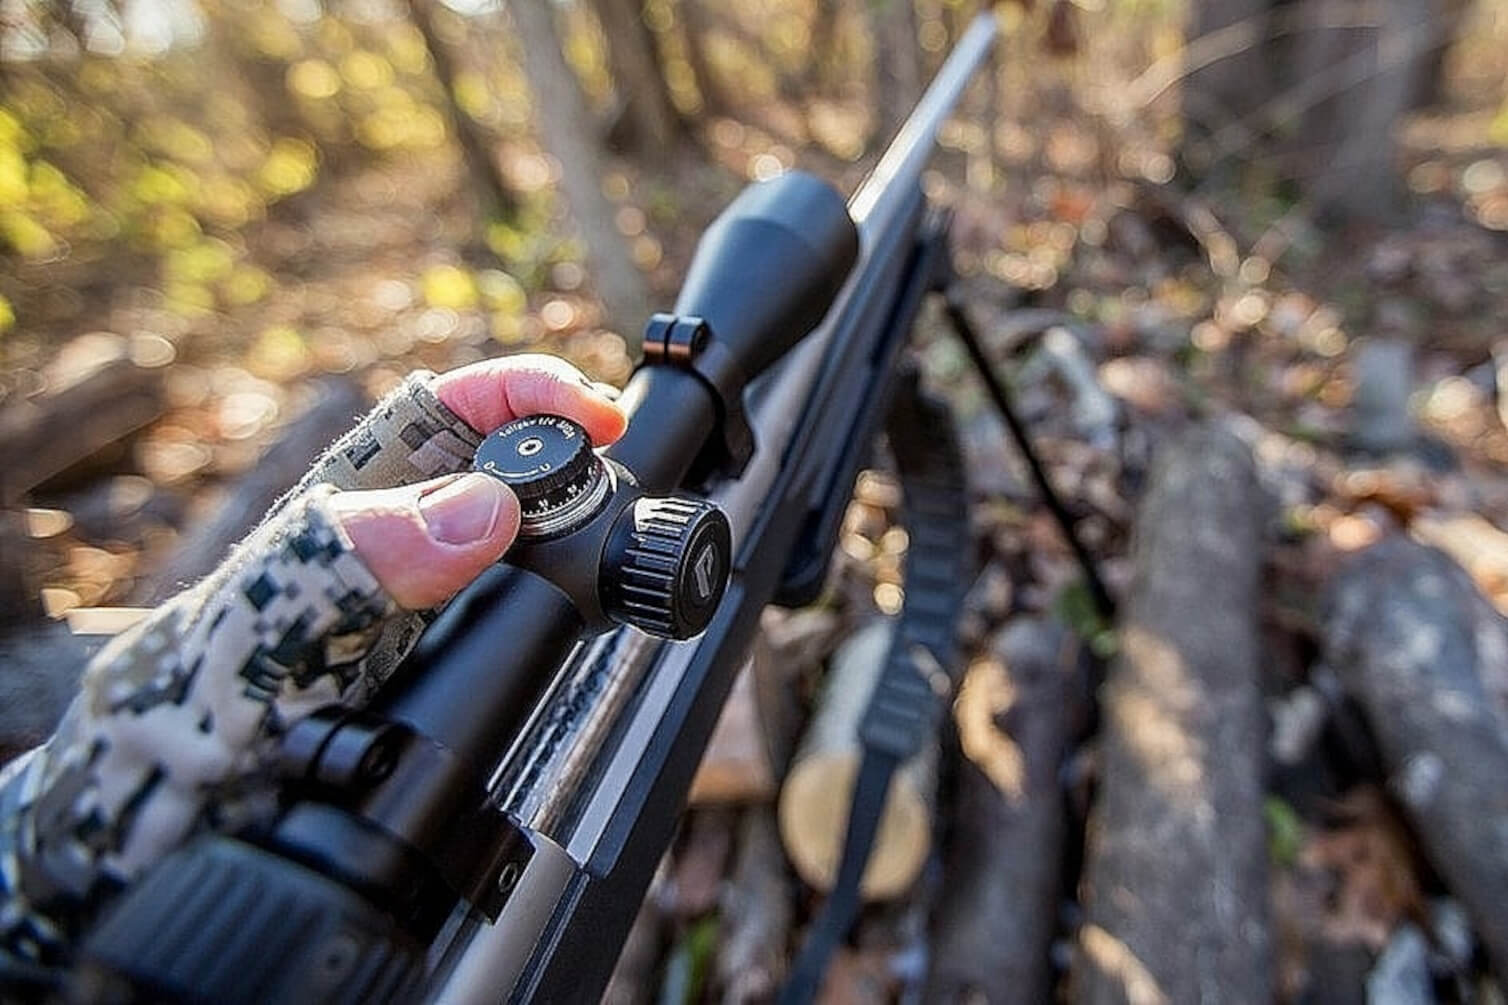
First, the optics must be mounted on the weapon using a special mount. This should only be done on a de-preserved, ready-to-use device.
Preparation for sighting includes several consecutive steps:
Adjusting the reticle sharpness according to the manual. Good sharpness results from extended target observation through the scope on a contrasting background.
Choosing distance and target format. Sighting smoothbore and small-caliber weapons is done at 50 meters. Rifled guns are adjusted at the classic 100-meter distance. At this range, the shooter can focus well, see the reticle clearly, and align the aiming points with the center of the target.
If this is your first time sighting, we recommend using a shooting rest to eliminate any wobble. If unavailable, a table or other solid support will work.
Cold and Hot Sighting
So how do you properly sight a rifle scope?
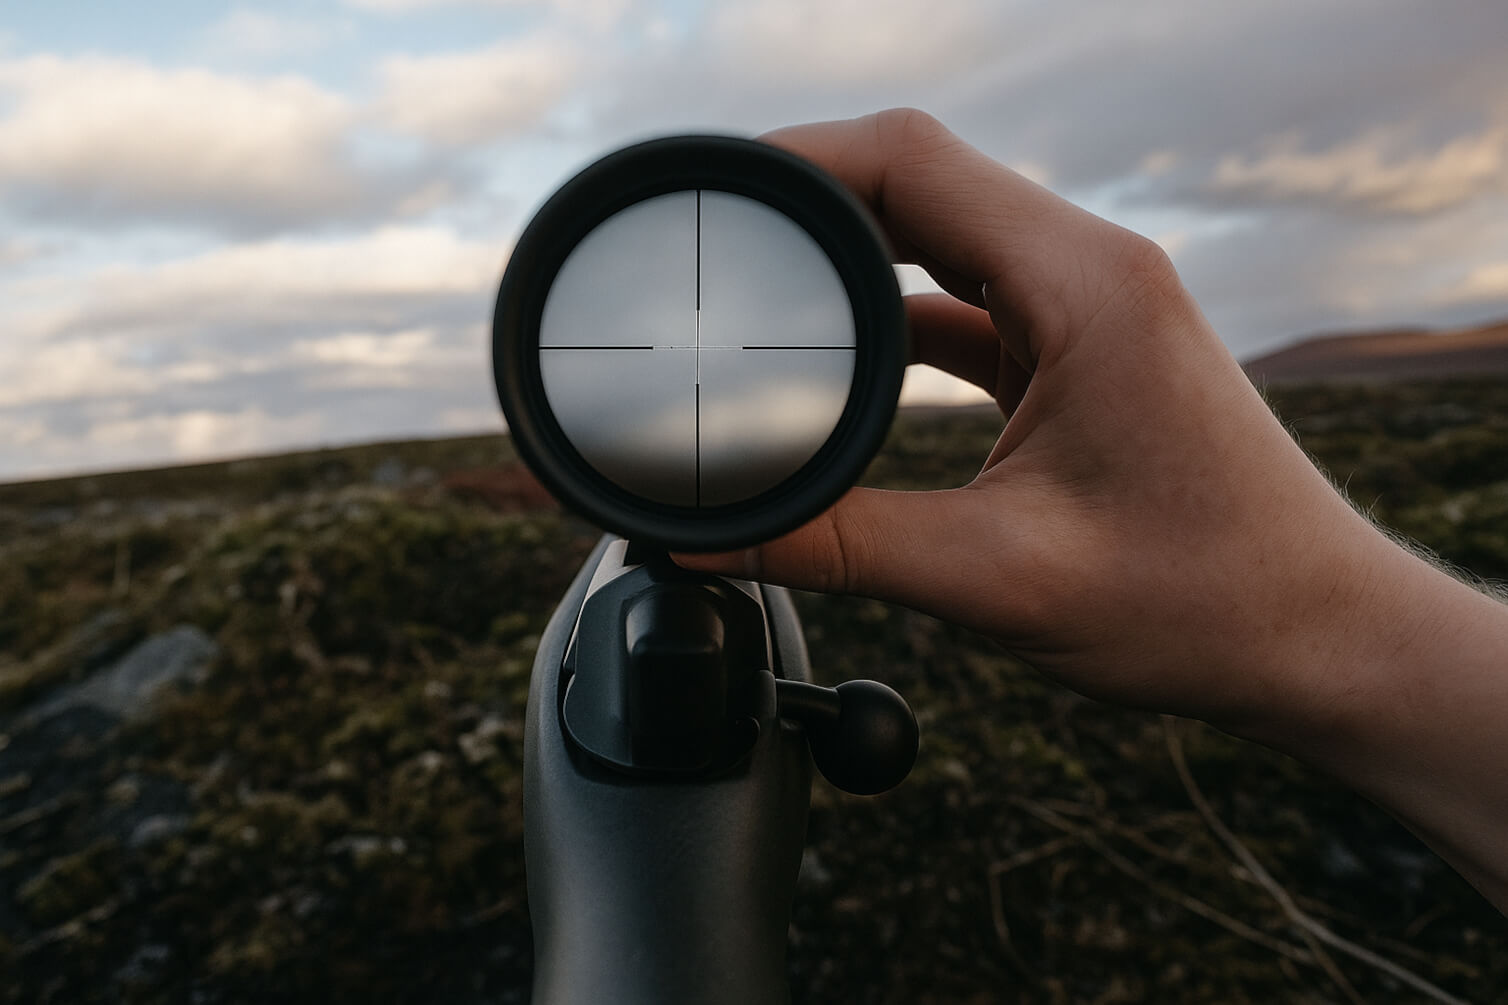
During sighting, the point of impact must match the aiming point at the appropriate distance and under current conditions. This process involves two main steps:
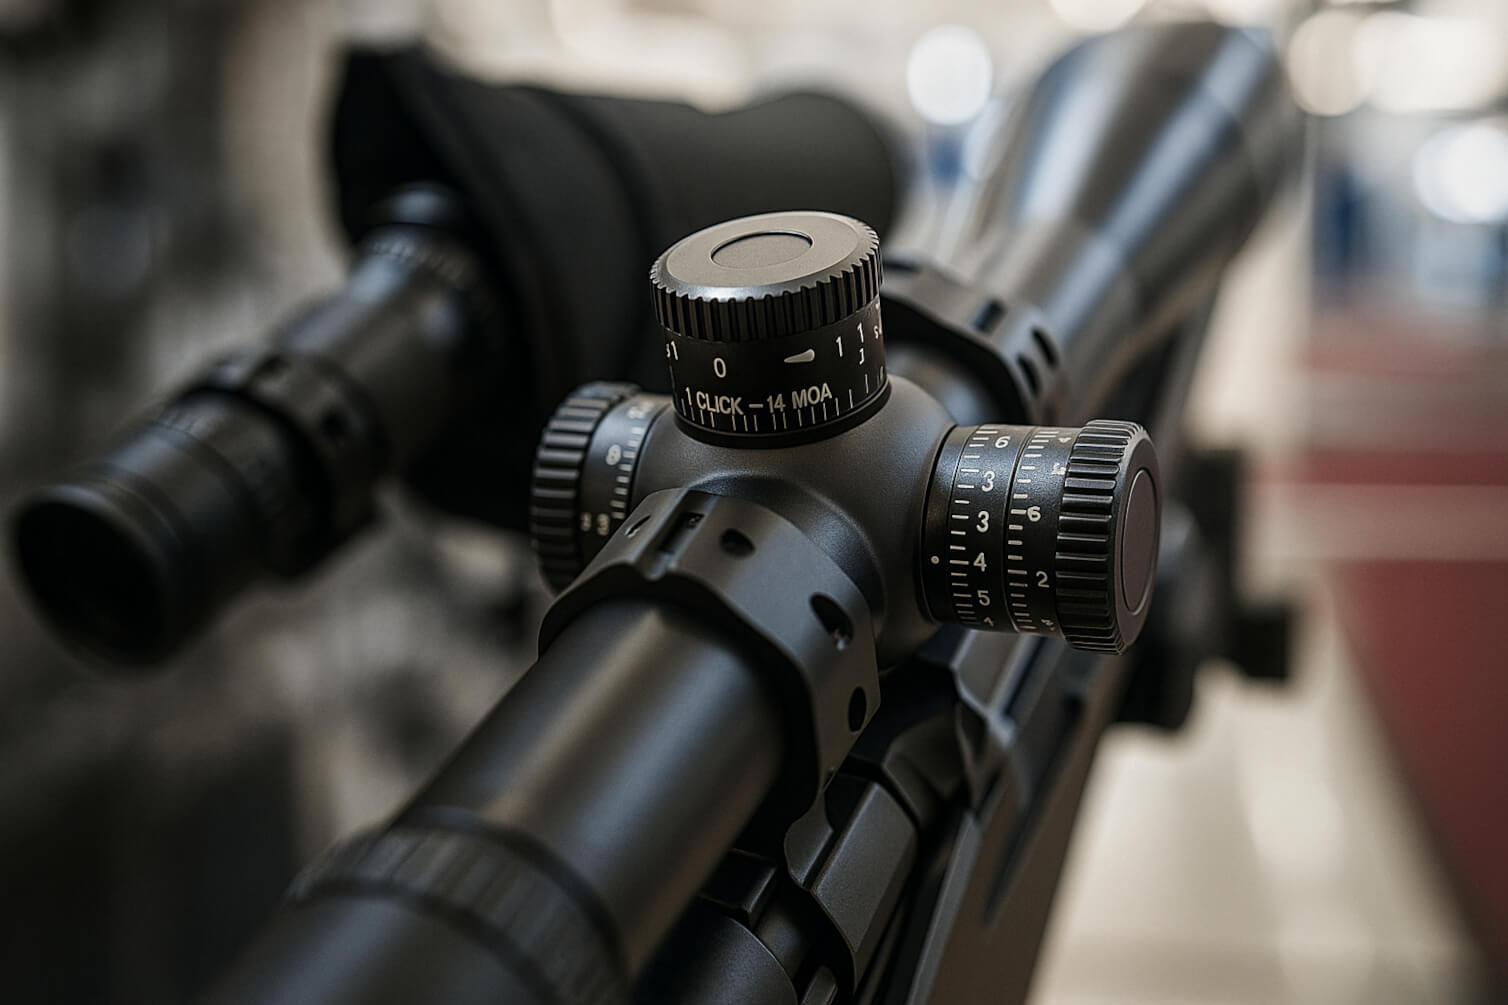
Cold Sighting. This is essentially adjusting the weapon so that the shooter can see the target center through the barrel. Laser cartridges or laser pointers work for this. Then, without moving the weapon, adjust the scope reticle to align with the target using turret adjustments. Proper alignment is possible up to 100 meters. Fire about 3 shots to determine the average point of impact, which shows the barrel’s shot grouping.
Hot Sighting. This is the recorded shot group done right after cold sighting. Recoil should be accounted for, especially with powerful ammunition. After shooting, determine the average point of impact and the directional offset between it and the target. Adjust the turrets until they match. Finally, set the scope turrets to the so-called zero position. Instructions depend on the scope model. When the scope is zeroed, it means the sighting is complete for that caliber and distance. The shooter can then rely on hitting the center of the reticle at 100 meters with zeroed turrets.
Step-by-Step Sighting at Various Distances
An important sighting step is marking the appropriate distance for shooting. The type and format of targets matter here as well.
Targets are divided into four types:
Carbine: at 100 meters, thick A4 sheet.
Carbine: at 200 meters, thick A3 sheet.
Carbine: at 300 meters, A1 sheet.
Small-caliber weapon: at 50 meters, A4 sheet.
Another sighting factor is shooter position. The airgun should be fixed so the shooter in a prone position can aim directly at the target. Shots are taken at different distances, and results are recorded to help determine optimal settings.
Sighting at 25 Meters — Initial Adjustment
Experts believe that sighting at 25 meters is the most effective, as this distance best shows the scope’s behavior.
During 25-meter sighting, you should:
Inspect the barrel towards the target;
Fire a group of 5 shots;
Adjust vertically using turret clicks;
Shoot again to confirm settings;
Adjust horizontally;
Finalize with 3 additional shots.
After a break, make a few confirmation shots using a new target. This confirms correct scope settings.
Sighting at 100 Meters — Final Adjustment
This step is done right after the 25-meter sighting. Don’t move the rifle, only the target.
Start with previous settings when firing at 100 meters to determine shot dispersion.
To make it easier, mark the aim point on the target using a laser. When shooting, take wind and force into account. Check the reticle and scope settings, and adjust as needed. Once the best result is reached, finalize the settings.
This process ensures you know the optimal parameters of your optics for accurate shooting, making final rifle setup much easier.
Adjusting and Calculating POI (Point of Impact)
The average point among several shots — or POI — is the main metric used for precise rifle sighting.
Accurate data can be calculated with a few simple steps:
There must be 3 bullet holes remaining;
Draw a line between the two closest holes;
Divide the distance in half;
From the third shot, draw a perpendicular line to the midpoint of the first segment;
Divide that segment into three equal parts;
The first mark becomes the POI for all shots.
POI shows how close it aligns with the aiming point. The first cold shot result is excluded as it’s less reliable.
Tips for Accurate Scope Adjustment
Even experienced shooters often make mistakes when sighting. Knowing the most common errors and how to avoid them can save time and ammunition.
Common Sighting Mistakes
Common mistakes include:
Incorrect ammunition selection. All rounds should be identical in type, batch, and manufacturer. Even small differences in bullet weight, powder charge, or shape can affect trajectory.
Unstable support and shooter position. A shaky weapon increases spread and makes adjustments inaccurate. Always use a stable rest and maintain a solid stance.
Incorrect scope adjustments. Mistakes when adjusting turrets will shift the POI. Make small adjustments, considering click values.
Ignoring weather conditions. Temperature, wind, and lighting affect bullet trajectory. Consider these factors. Windy weather, for instance, requires precise horizontal adjustments. Vertical adjustments may be needed in heat or on very hard surfaces.
Poor scope mounting. Loose scopes will shift during firing. Even slight play can alter POI, making sighting ineffective.
Lack of ballistic knowledge. Without understanding bullet trajectories at various distances, errors in optical adjustments will occur. Bullets don’t fly in a straight line — they arc at long distances.
Thorough preparation, attention to detail, and understanding your firearm’s characteristics help avoid common errors. A structured, step-by-step approach guarantees consistent, predictable results.
More on this topic
17.03.2026
What is a cartridge caliber — table and applications
One of the key parameters when choosing a weapon is the cartridge caliber. This characteristic directly affects the ballistics of ammunition, shooting accuracy, recoil, and the scope of application of the combat unit.
In hunting, sport, and military practice, it is the choice of caliber that determ
05.11.2025
The Difference Between Smoothbore and Rifled Weapons
When a person decides to buy their first weapon, the choice often comes down to one question: smoothbore or rifled barrel. Everything depends on this — from accuracy to the type of ammunition. A smoothbore barrel has no rifling inside, so the charge travels straight. A rifled barrel has spiral groov
05.05.2025
Types of Non-Lethal Weapons: Classification and Purpose
Non-lethal weapons are used for self-defense. They are designed to temporarily neutralize an opponent without causing fatal injuries, making them popular among civilians and law enforcement agencies. The easiest way to learn how to handle non-lethal weapons is in a shooting range, with the support o
Darwin Shooting Club— we do not sell firearms
Our club does not sell or resell firearms. We exist to teach safe, conscious, and responsible handling of firearms.We conduct training sessions, safety briefings, and promote a culture of informed firearm ownership.